


How to Create Stunning Horse Drawings: A Step-by-Step Guide

Updated: Nov 4
Convincing horse drawings start with clear shapes, then develop the horse’s proportions, pose, and distinctive details. Use simple lines to map the head, chest, and legs before refining the outline. The mane, tail, expression, and choices in shading can make the finished drawing feel lively and individual.
Capturing a horse’s shape and movement can feel challenging, especially when you’re deciding which details to draw first. A step-by-step approach makes the task more manageable and leaves room to develop your own style. Start with basic shapes to plan the horse’s form, check its proportions, and add details that suit your chosen style. Line, shading, and pose all affect how the horse appears.
Table of Contents
Horse drawings
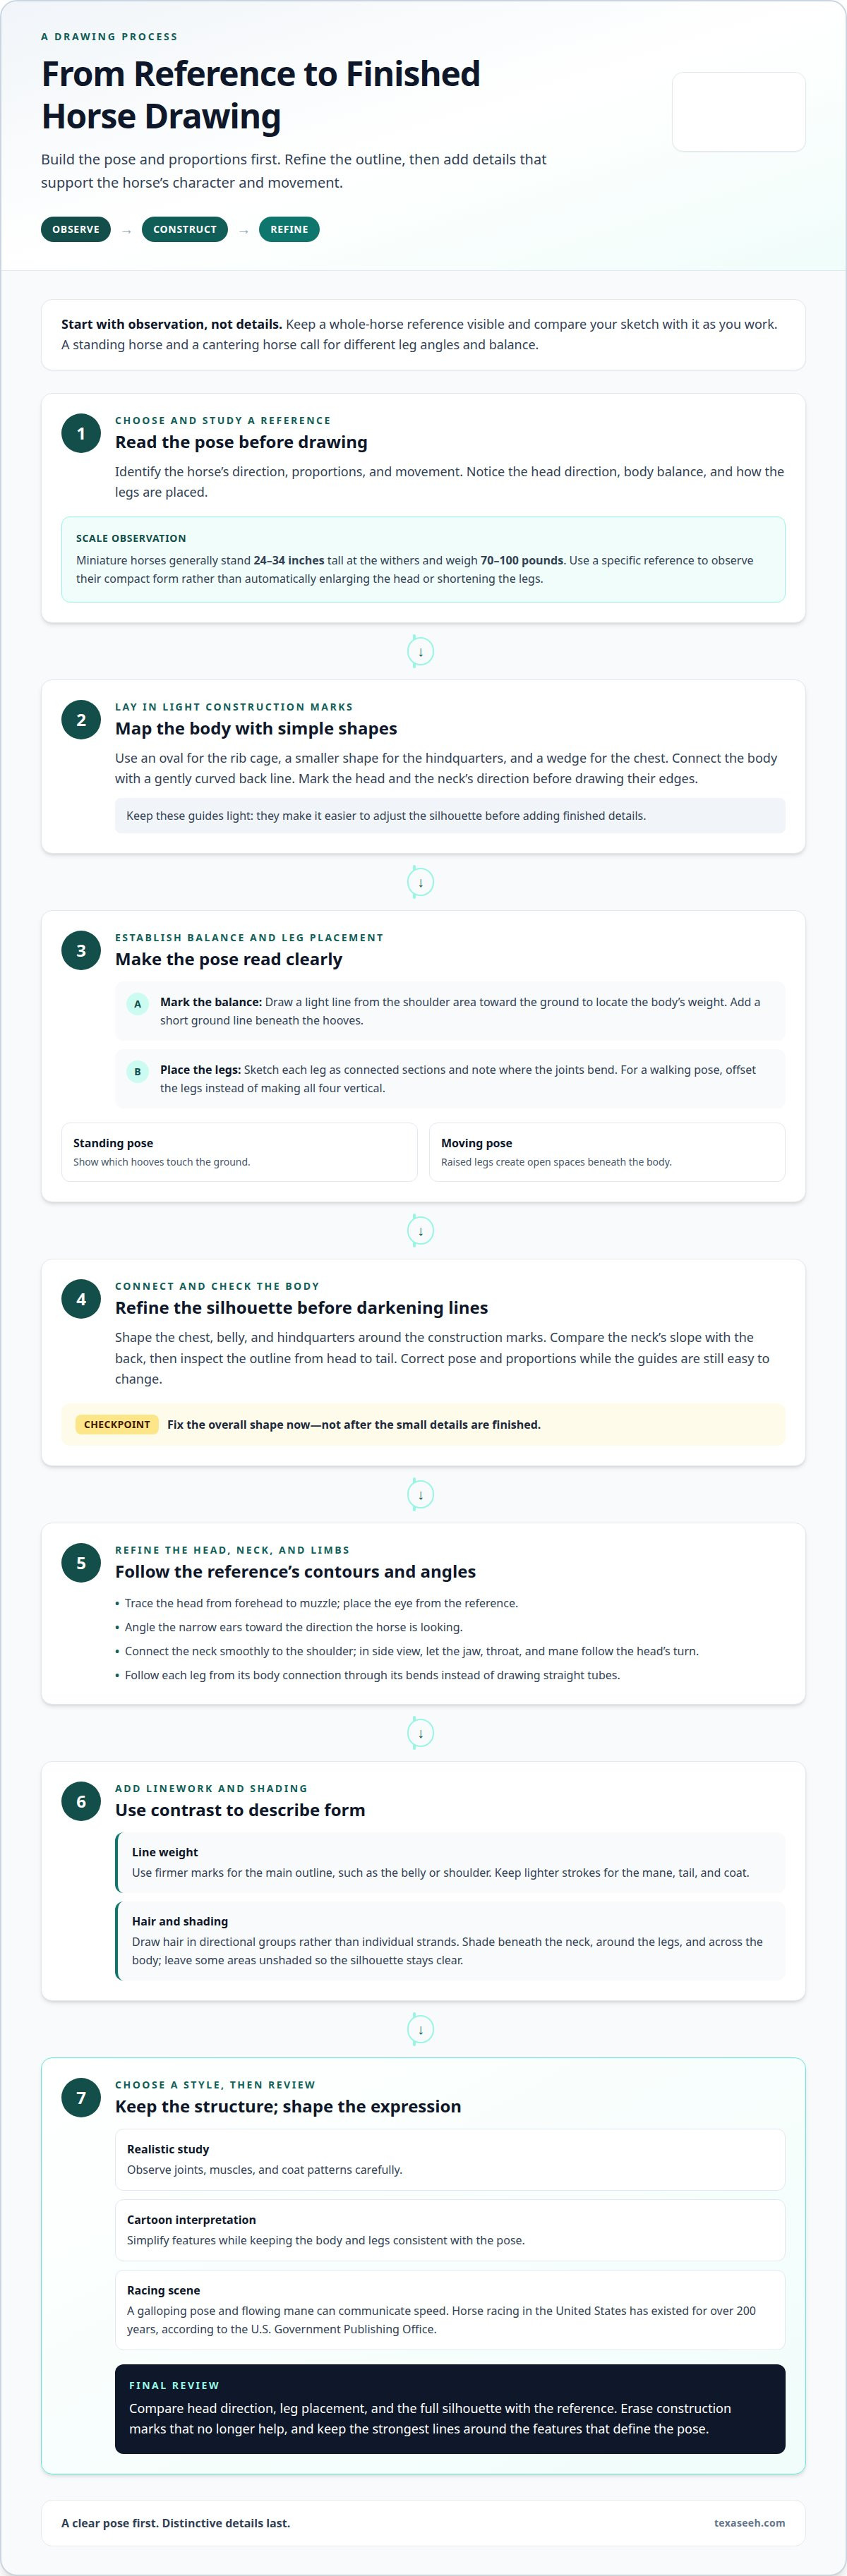
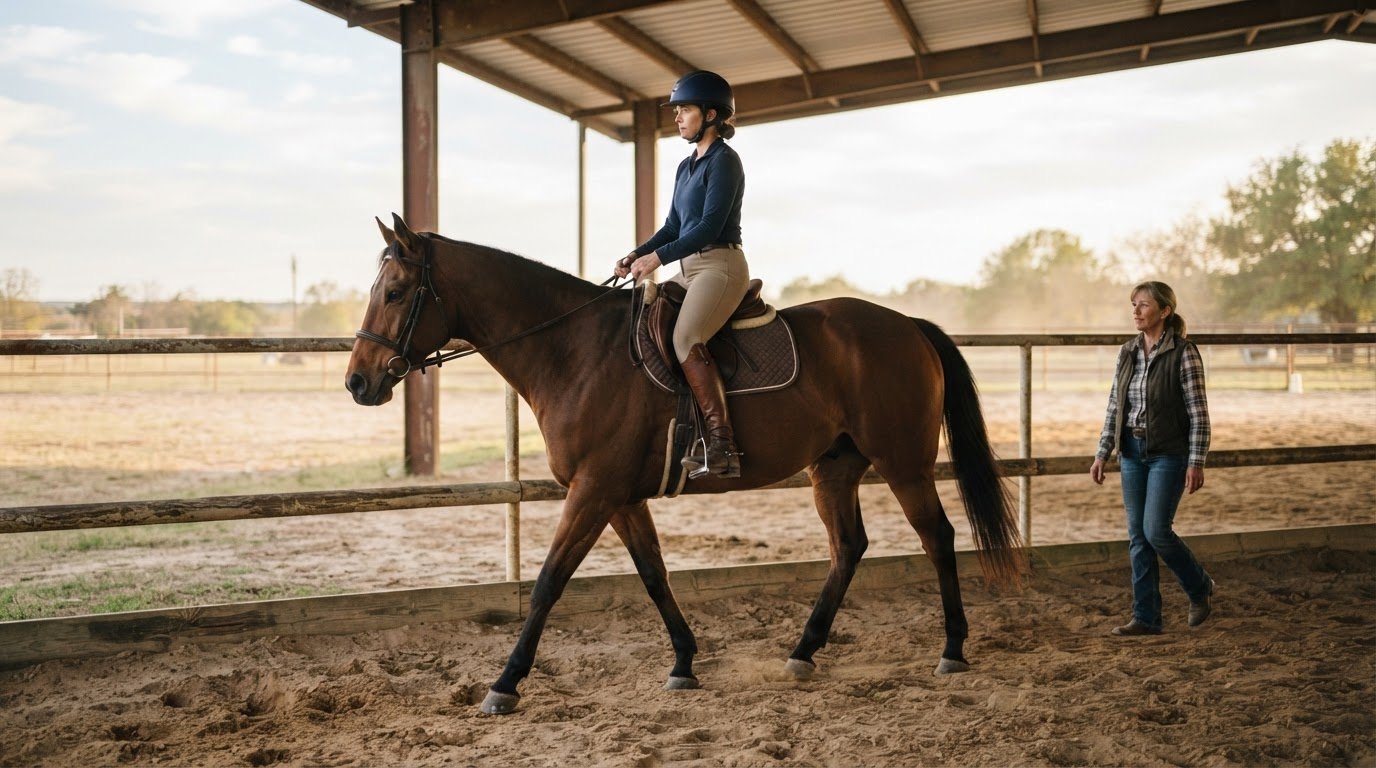
A strong horse drawing starts with observation, not eyelashes or a flowing mane. Choose a reference that shows the whole animal, then identify its pose, proportions, and direction of movement. A standing horse, for example, needs different leg angles and balance from a horse in a canter. Keep the reference visible and compare your sketch with it as you work.
Begin with light construction marks. Sketch an oval for the rib cage, a smaller shape for the hindquarters, and a wedge for the chest. Connect them with a gently curved line for the back. Add a small shape for the head and mark the neck’s direction before drawing its edges. These guides make it easier to adjust the silhouette without erasing finished details.
Build the pose before the details
Use this sequence to develop the structure:
Mark the balance. Draw a light line from the shoulder area toward the ground to locate the body’s weight. Add a short ground line beneath the hooves.
Place the legs. Sketch each leg as connected sections, noting where joints bend. For a walking pose, offset the legs rather than making all four vertical.
Connect the body. Refine the chest, belly, and hindquarters around your construction shapes. Compare the neck’s slope with the line of the back.
Check the silhouette. Look at the horse’s outline from head to tail. Correct the pose and proportions before darkening any lines.
Scale changes the shapes you observe. According to the U.S. Department of Justice, miniature horses generally stand 24 to 34 inches tall at the withers and weigh between 70 and 100 pounds. In a drawing, use a miniature horse reference to notice its compact overall form. Don’t enlarge its head or shorten its legs simply because the animal is smaller; follow the specific reference instead.
Next, refine the head and neck. Draw a considered contour from the forehead to the muzzle, then place the eye using your reference. Add narrow ears that point in the direction the horse is looking. Connect the neck smoothly to the shoulder so it feels part of the body. In a side view, check that the jaw, throat, and mane follow the same turn of the head.
Legs give a pose much of its character. Trace each limb from where it joins the body, following the bends and changing angles instead of drawing straight tubes. In a standing pose, show which hooves touch the ground. In a moving pose, use the raised legs to create open spaces beneath the body. Keeping those gaps clear helps distinguish the limbs when you add details.
Vary line weight to separate the main outline from smaller features. Use firmer marks to define the belly or shoulder and lighter strokes for the mane, tail, and coat. Draw hair in directional groups rather than as individual strands. Add shading beneath the neck, around the legs, and across the body to suggest form, leaving some areas unshaded so the silhouette stays clear.
Style can shift the same pose without changing its basic structure. A realistic study benefits from careful observation of joints, muscles, and coat patterns. A cartoon version can simplify those features, but its legs and body still need a consistent pose. For a historical subject, horse racing in the United States has existed for over 200 years, according to the U.S. Government Publishing Office. A racing scene can use a galloping pose and flowing mane to communicate speed.
Compare your drawing with the reference once more. Check the head direction, leg placement, and overall silhouette before adding final accents. Erase construction marks that no longer help, and keep the strongest lines around the features that define the pose. This final review helps the drawing read clearly, whether you’re making a detailed study or a more expressive interpretation.
Texas Equine Education & Horsemanship™: Horse & Rider Showcase
Texas Equine Education & Horsemanship™ offers the Horse & Rider Showcase, a way to keep exploring the connection between horses and the people who work with them. Observing that relationship can inspire new sketches after you’ve studied a horse’s posture, movement, and proportions on paper. Notice how the horse carries its head, places its legs, and changes shape in motion. Those observations can help you choose more specific references and poses for your next drawing.
To learn more about the Horse & Rider Showcase, contact Texas Equine Education & Horsemanship™ or visit its website.
Let Your Next Sketch Begin with Observation
For an art-focused way to connect with equine creativity, Texas Equine Education & Horsemanship™ offers the Equine Expression & Heritage Art Show. Learn more through Texas Equine Education & Horsemanship™, and keep making space for your own artistic growth.


Comments